Product Details of Mold Date Stamp
I. Product Introduction
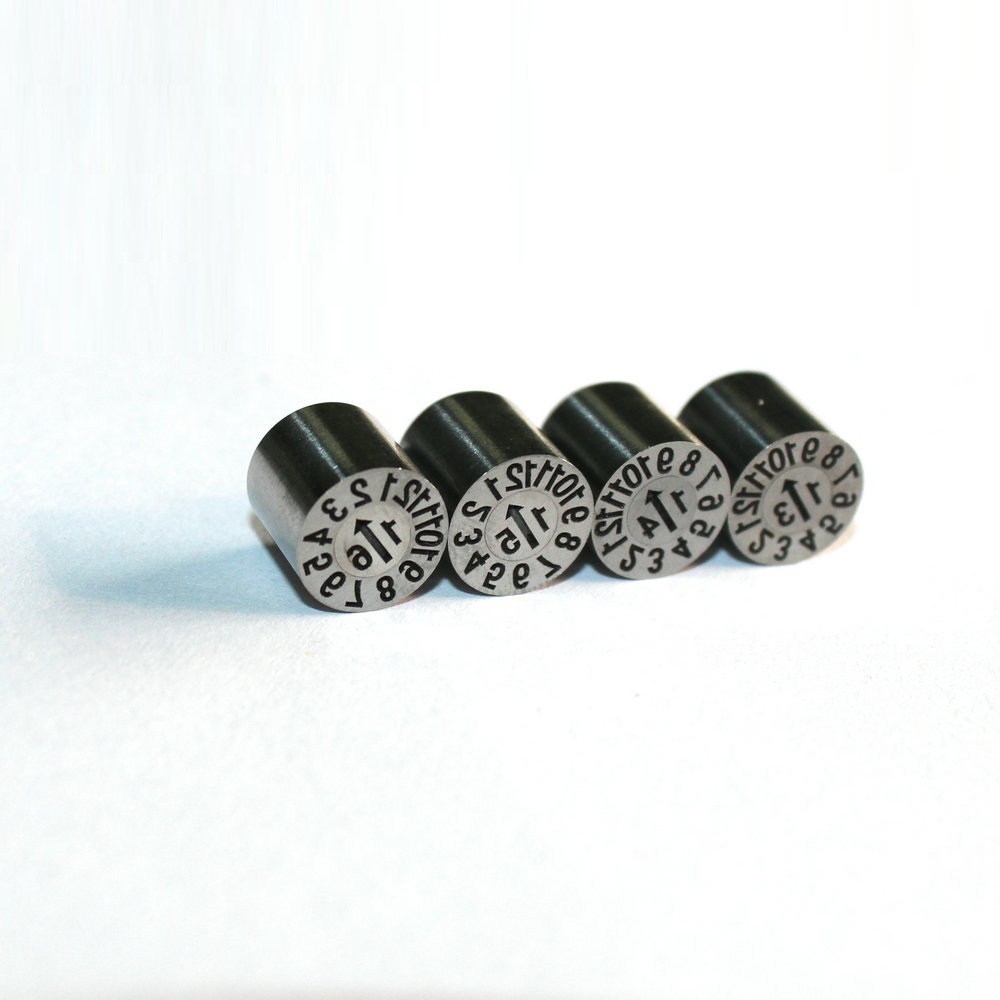
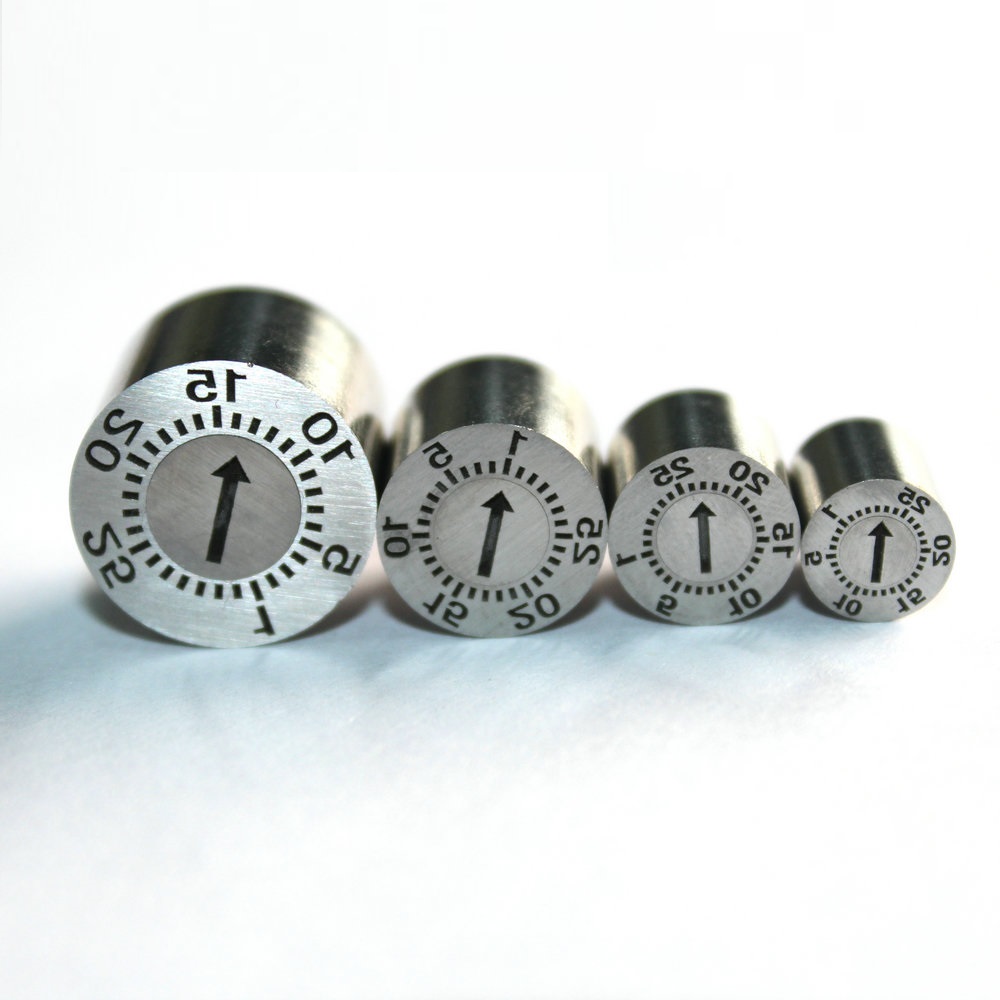
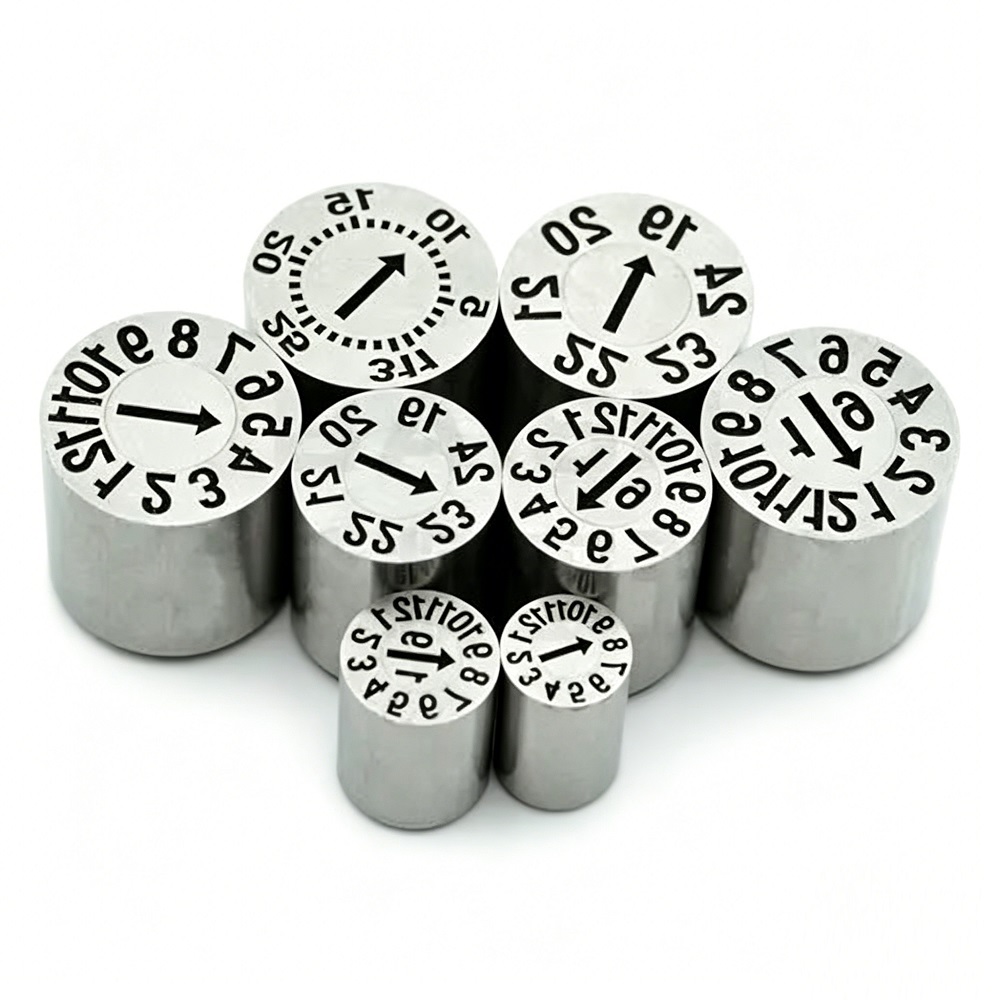
The Mold Date Stamp is a crucial accessory for plastic molds. It is mainly used to imprint information such as production date and material code on the surface of injection - molded products, facilitating subsequent traceability and management.
II. Product Functions
1. Product Traceability
It can mark the production date, shift, material, etc. on plastic products. In case of any problems, the production batch can be quickly located.
2. Differentiated Management
By using different codes, it can distinguish customer orders or product models, preventing material mixing and improving the efficiency of warehouse and production management.
3. Quality Identification
It records information such as trademarks and service life, which serves as an important basis for product maintenance and identification in the future.
III. Product Types
1. Classification by Function
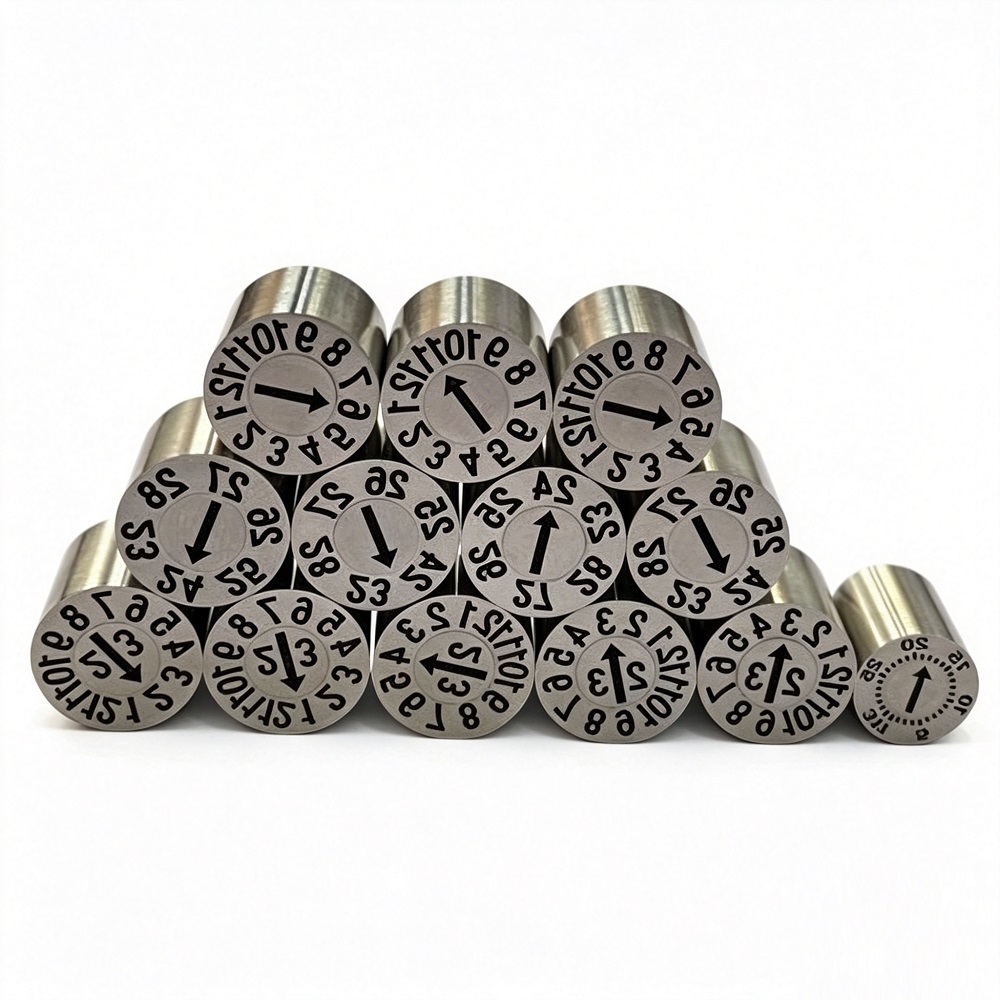
Time - related Types
Include year stamps, month stamps, day stamps, and combined year - month stamps, which can be combined to display the complete date.
Identification - related Types
Include material stamps, environmental protection stamps, number stamps, letter stamps, etc., used to mark specific information.
2. Classification by Standard
Common standards include Taiwan standard, American standard (DME), German standard (HASCO), Japanese standard (MISUMI), etc. The dimensions and installation methods of different standards vary slightly. In terms of structure, there are ball - type structure, spring - type structure, screw - type structure, and core - replacement structure, adapting to different mold design requirements.
IV. Selection and Usage
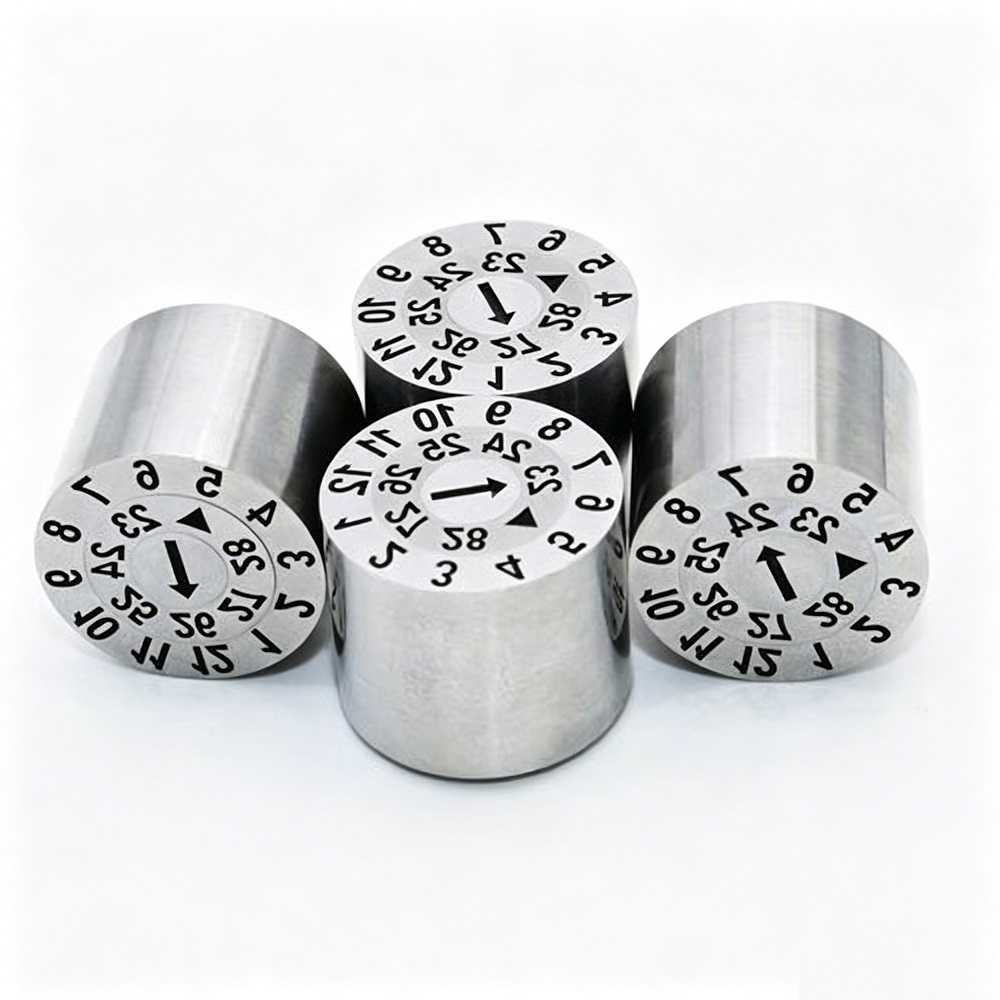
1. Material Selection
Generally, stainless steel 416 or SUS420 is used. After surface treatment, it has high hardness, wear - resistance, corrosion - resistance, and good internal toughness to adapt to high - temperature environments.
2. Specification Matching
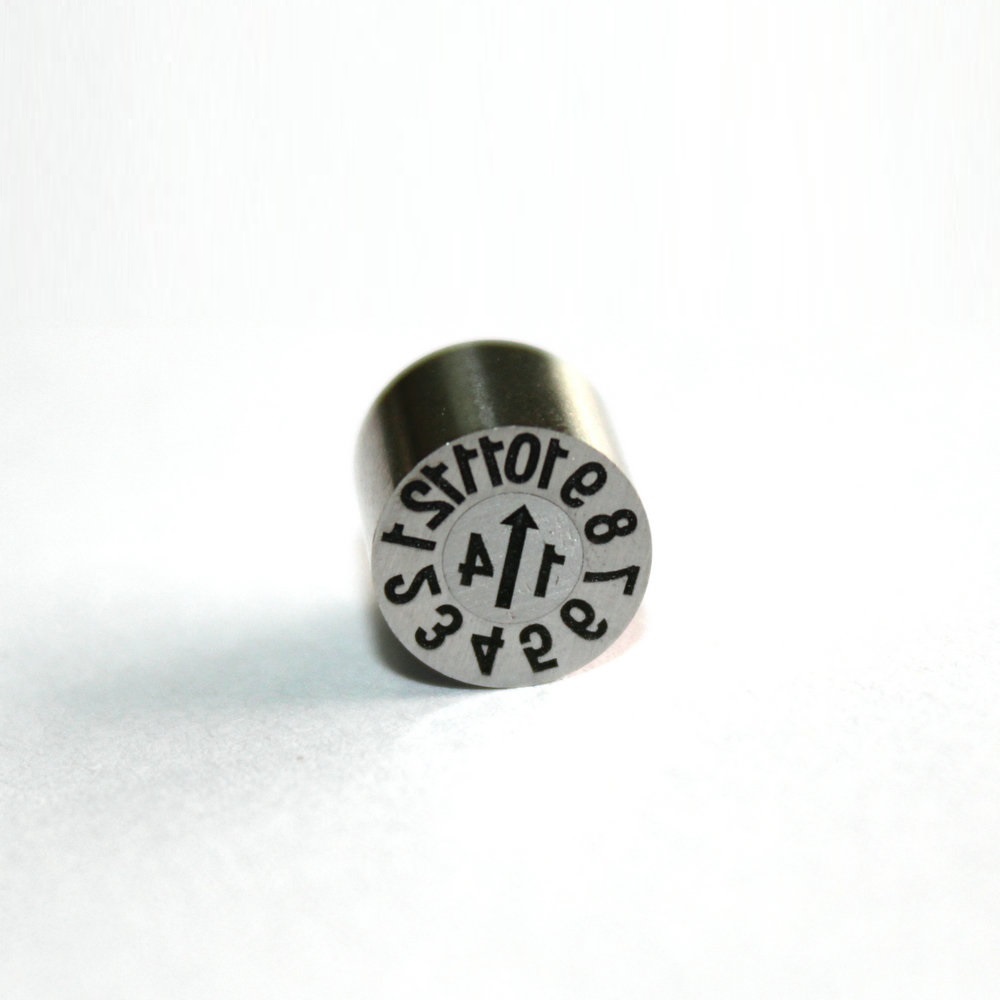
The diameter commonly ranges from 3mm to 20mm, and the height also varies with the diameter. The size should be selected according to the reserved hole position of the mold. For example, when the diameter of a standard - type date stamp is 4mm, the height is usually 8mm. Specific model parameters need to be checked during purchase.
3. Usage Precautions
Temperature Limit
The maximum operating temperature of standard - type date stamps is generally not more than 150℃. Exceeding this temperature may cause the built - in spring to fail.
Application Scope
It is mainly used for plastic molds and is not suitable for die - casting molds. Special date stamps should be selected for die - casting environments.
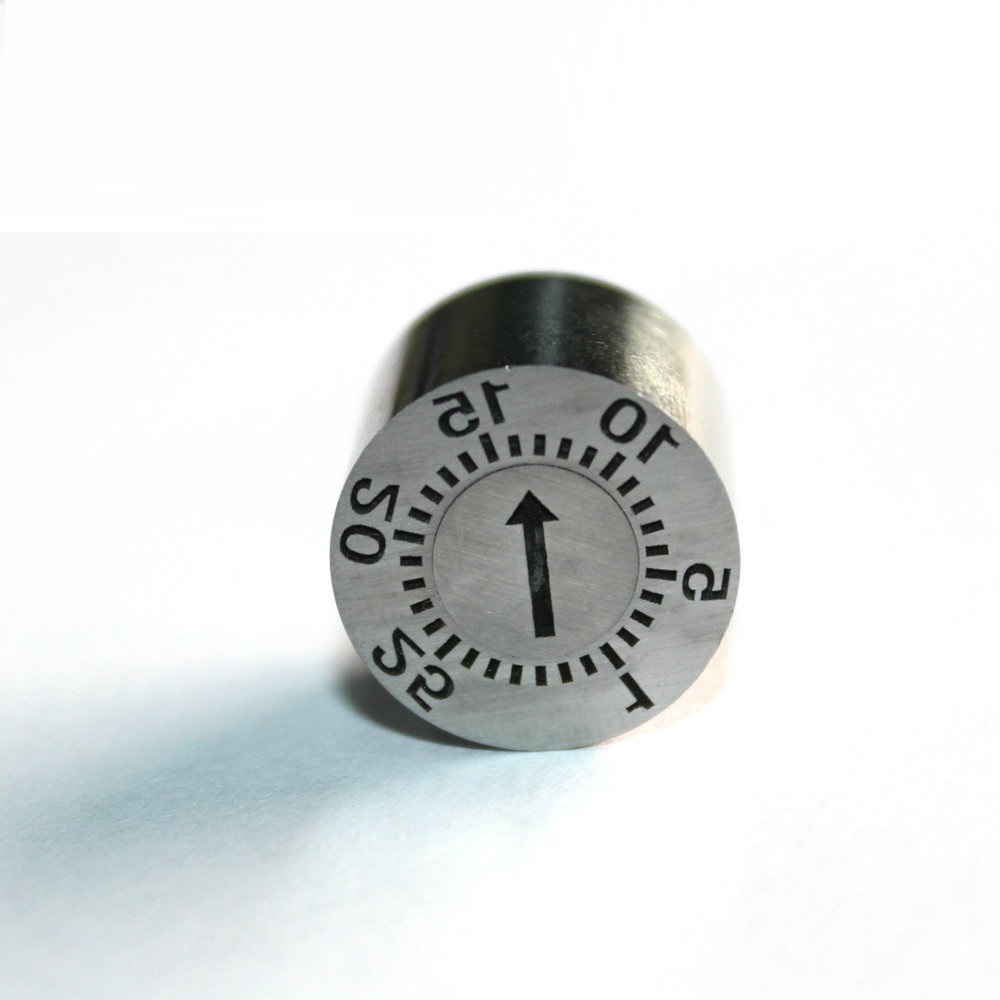
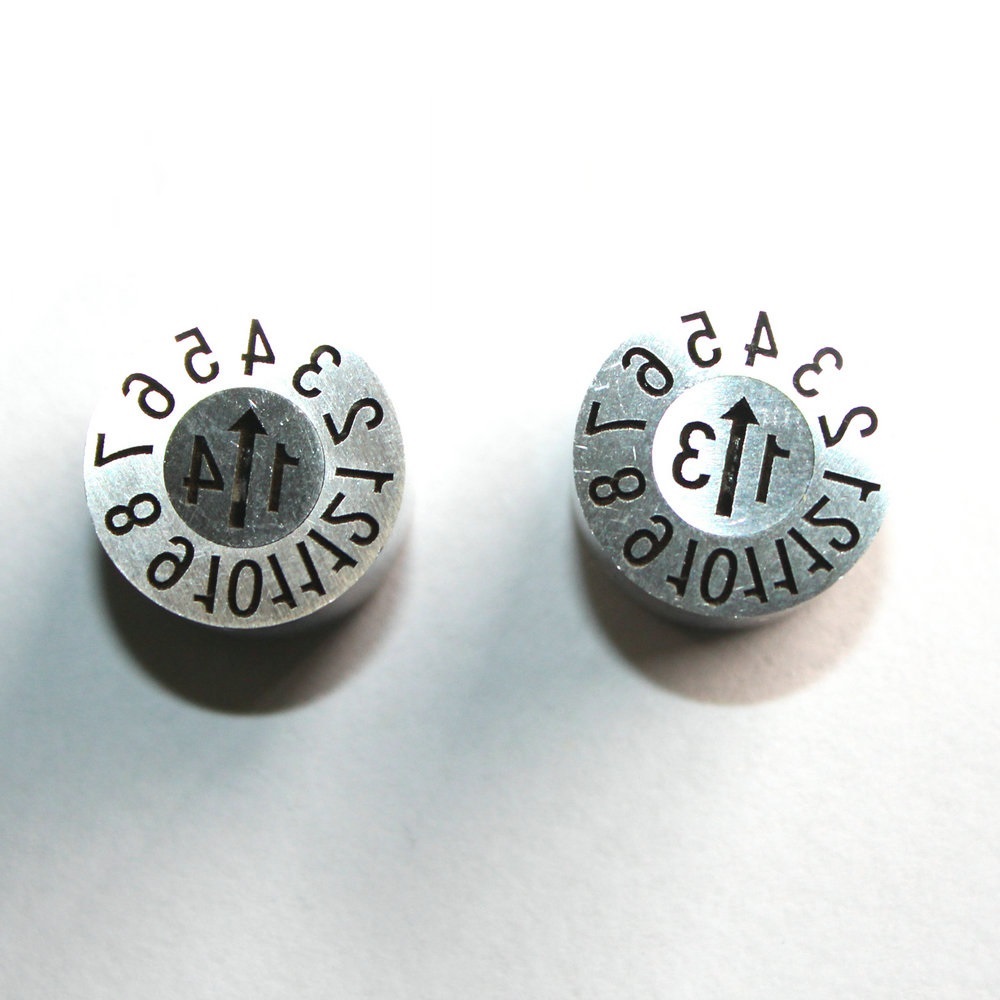
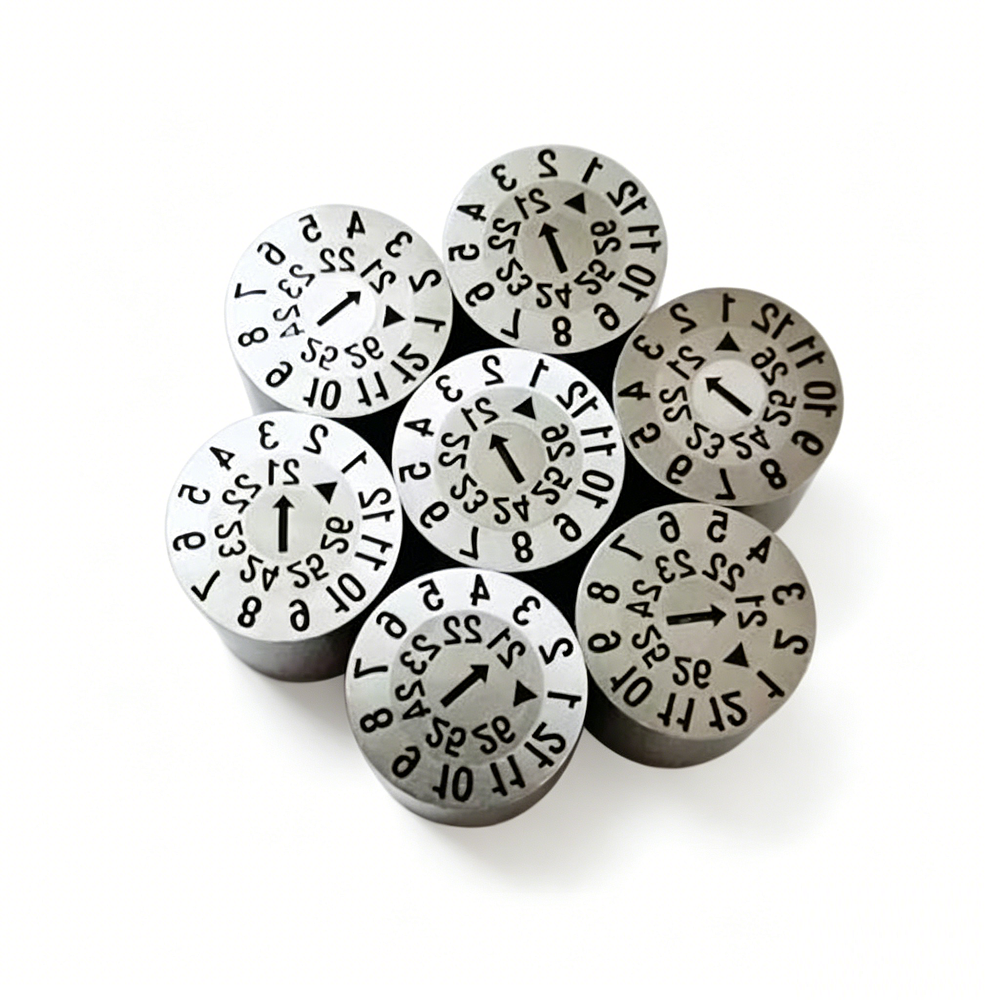
Adjustment Method
The date display can be quickly adjusted by turning the inner insert on the parting surface side with a screwdriver. Be careful not to damage the arrow mark during operation.
 Kim Yip